


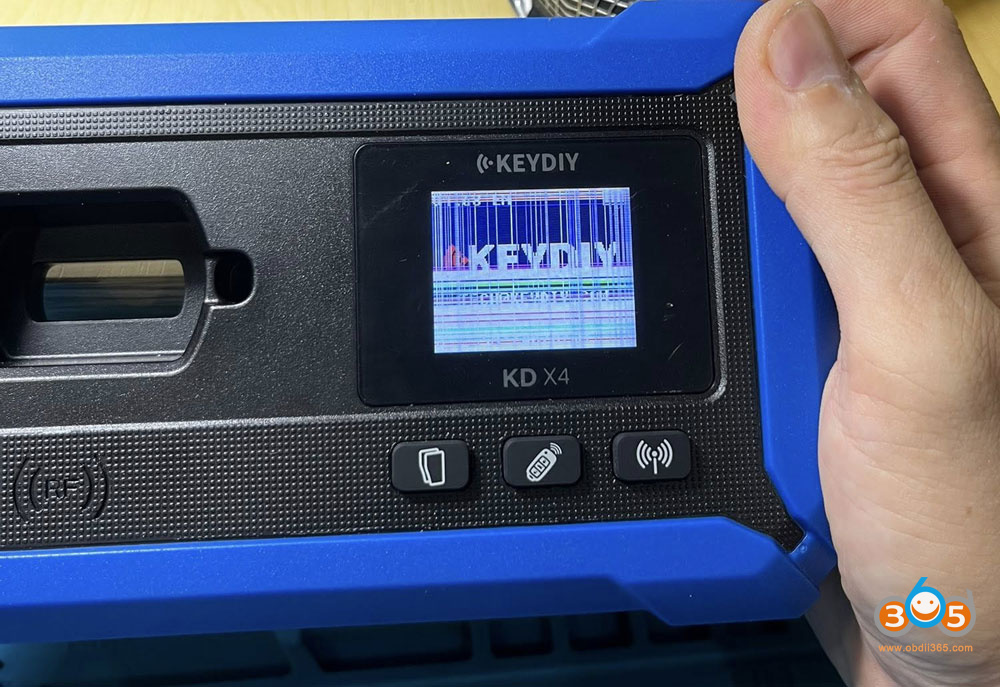
How to replace the Keydiy KD-X4 key programmer‘s small screen which is damaged?
Instruction:
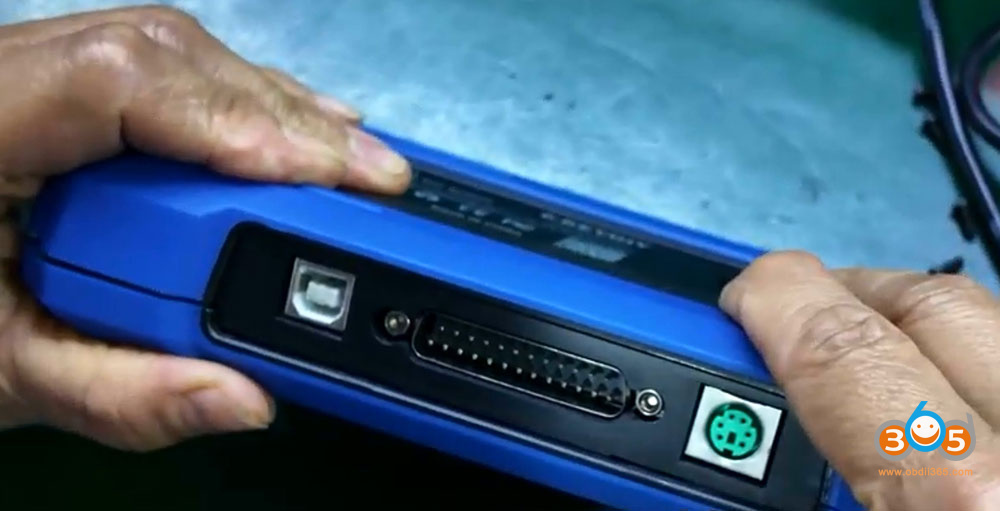
First, remove the 4 screws on the back of the unit.
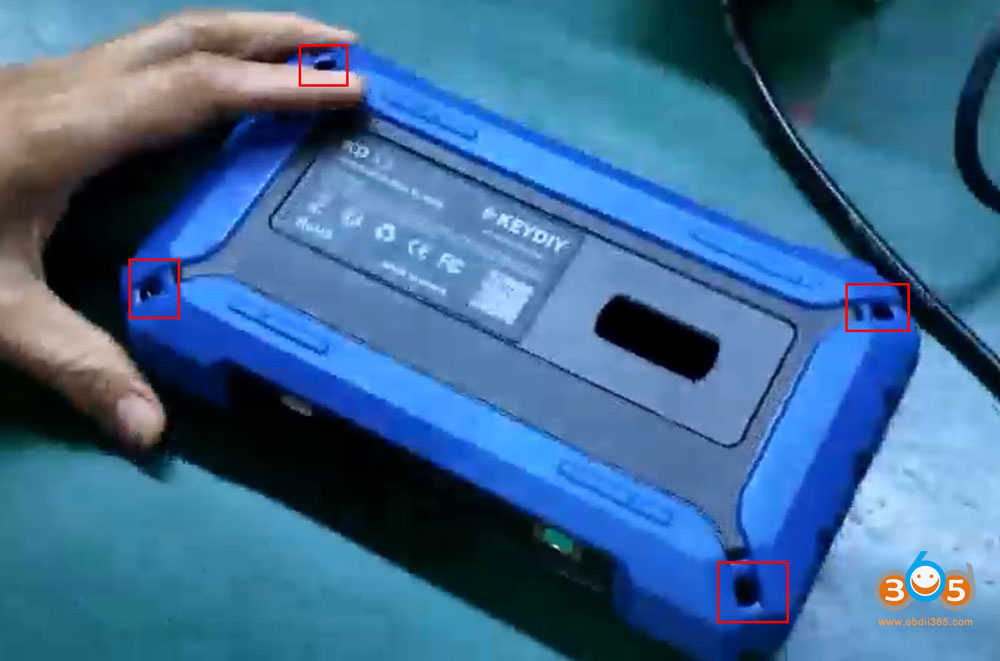
Pry open the housing from the gap.
After prying it open, set the back cover aside.
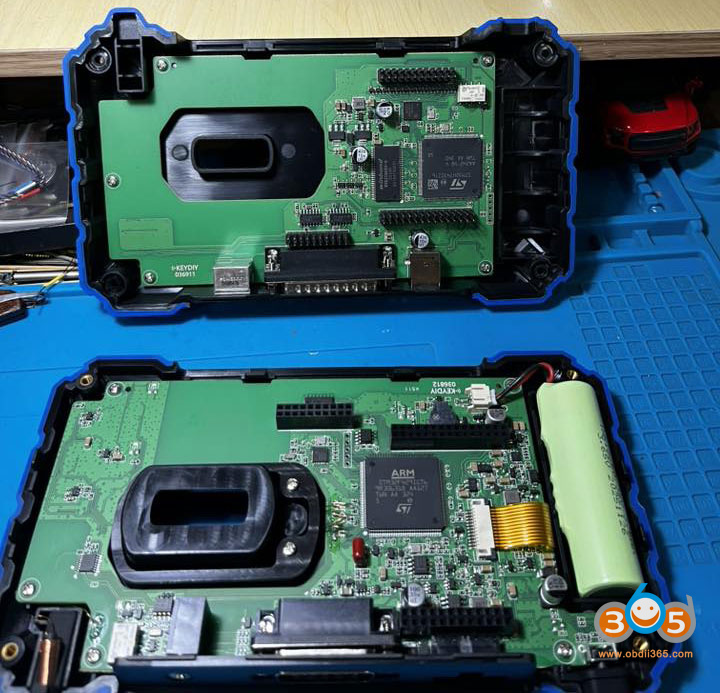
Remove the screw(s) on the circuit board.
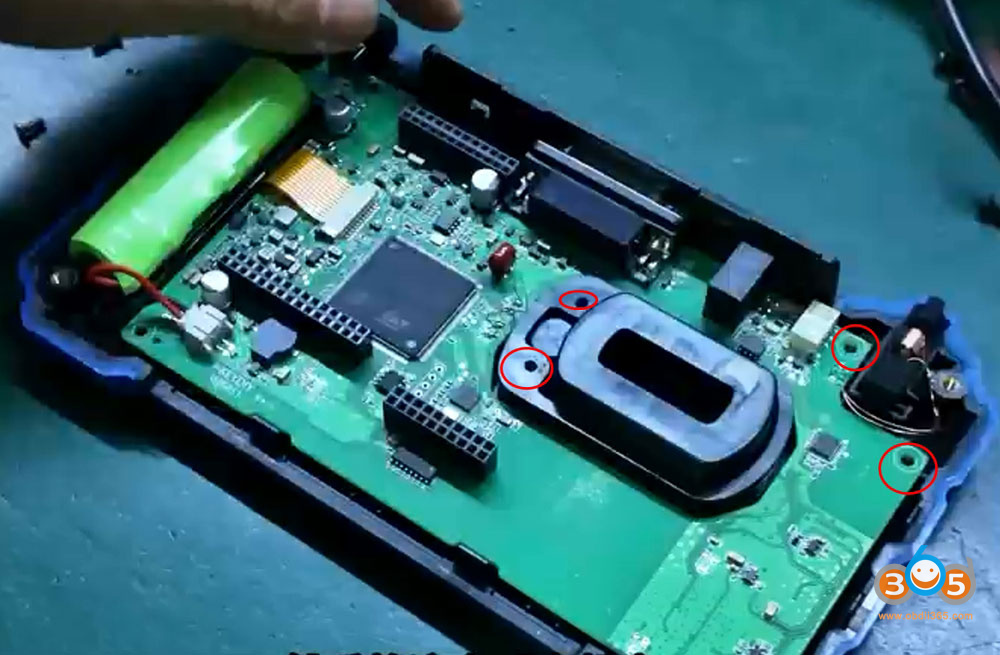
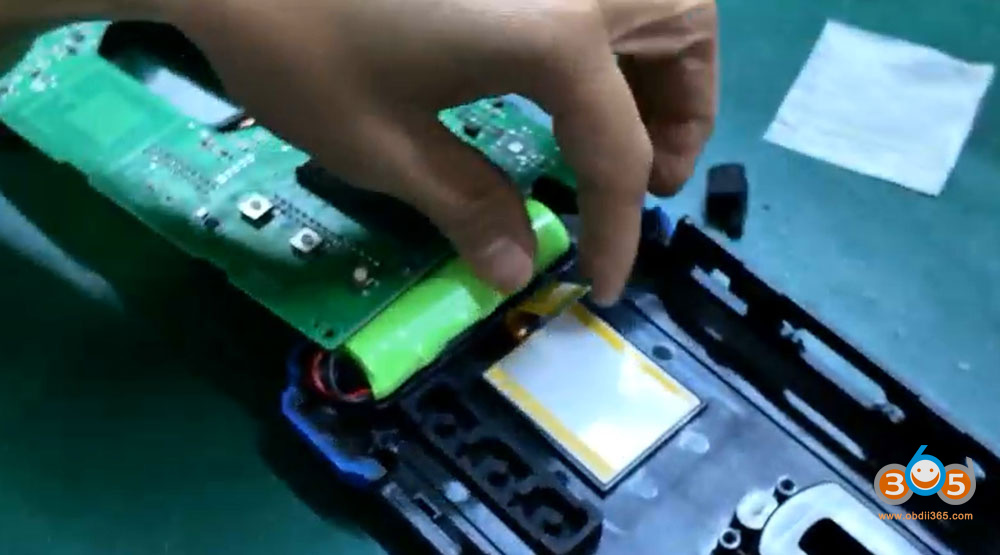
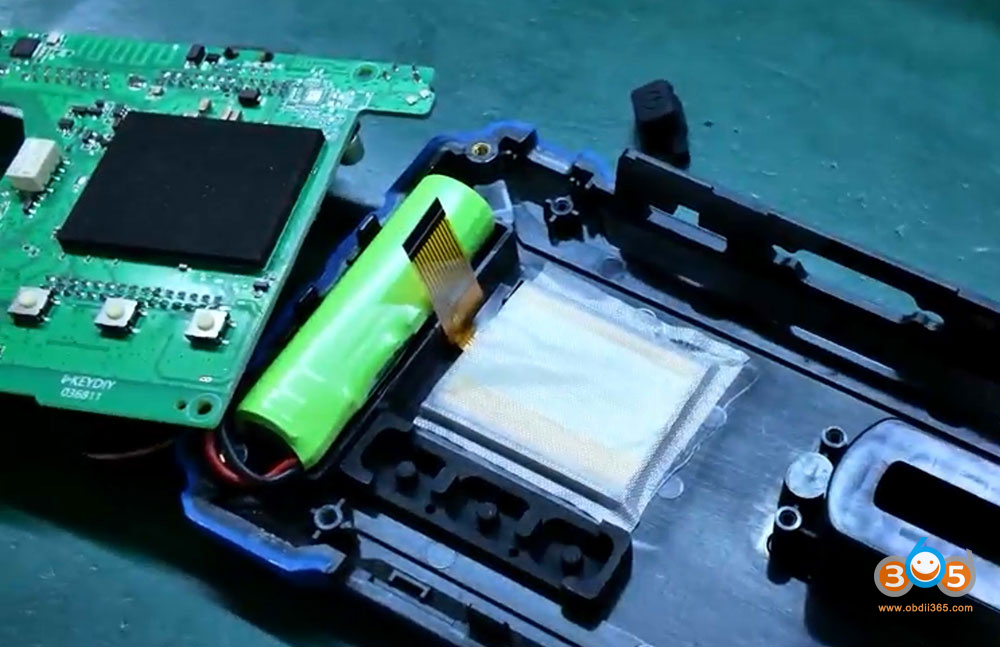
Lift the inductor and take out the coil.
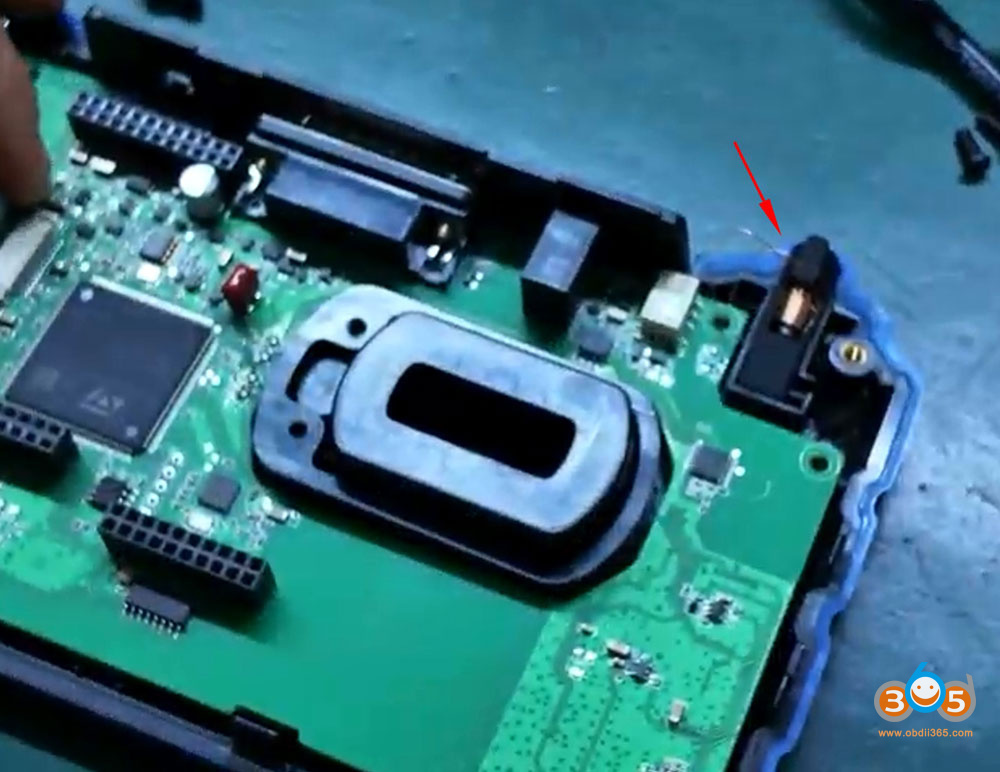

Disconnect the gold ribbon cable from the screen.
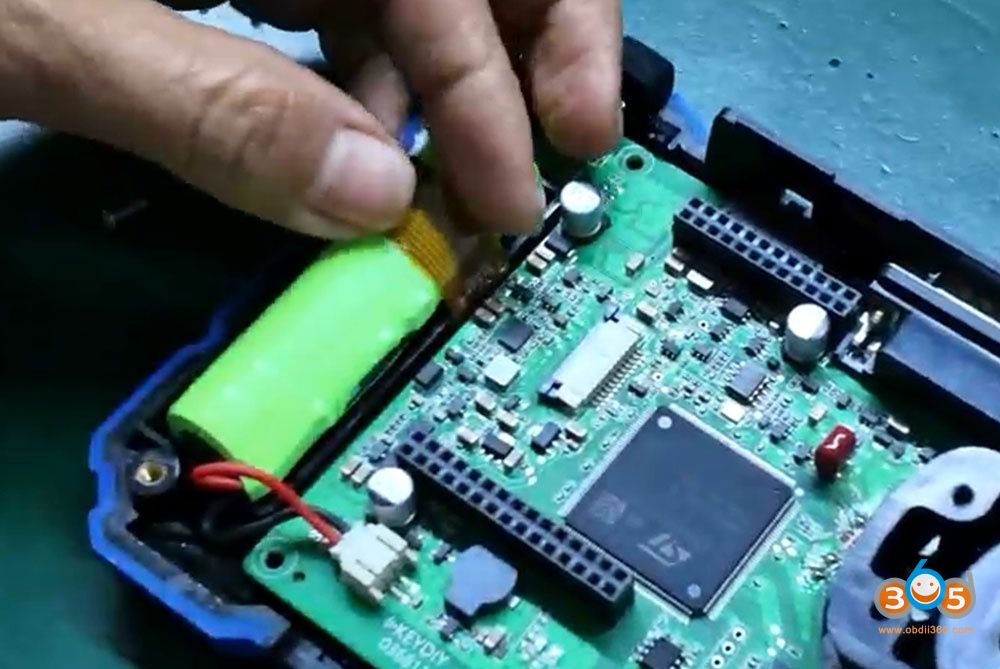
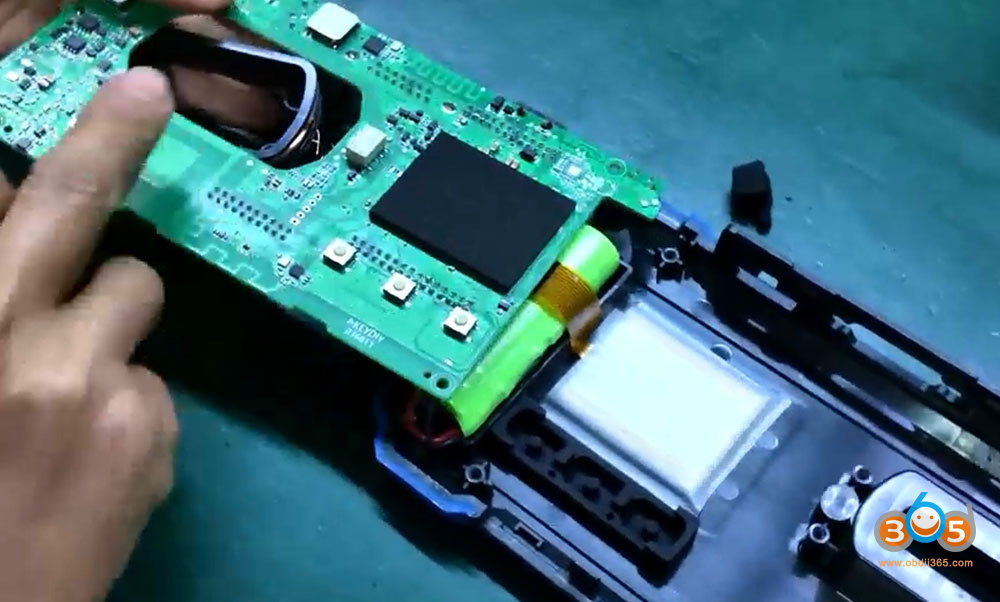
Gently lift the board.
Peel off the protective film on the screen.
Replace with the new screen.


Reapply the protective film onto the screen.
Reinstall the inductor and coil.
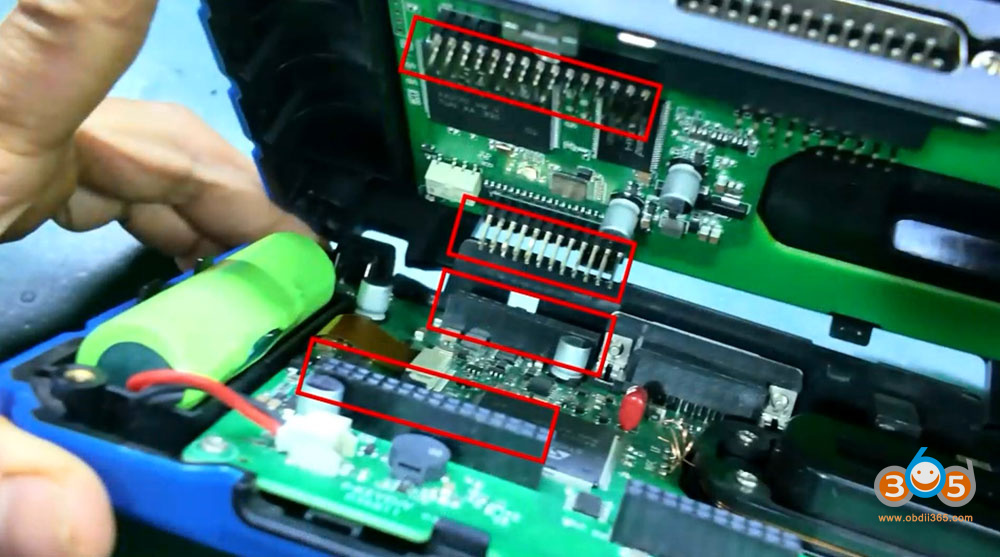
Slide the screen’s locking latch backward, then insert the ribbon cable into the latch.
Push the latch forward until no solder pads are visible, then snap it securely into place.
Reinstall the power button.

After reinstalling the screws, check whether the screen lights up.
If the screen lights up, the installation is successful.
Assemble the other side. Be sure to power off the device before reassembling.
Ensure proper alignment.
Once aligned, press down firmly.
Finally, verify whether the device powers on properly.

Keydiy KD-X4 screen replacement is done.