


It’s a write-up of picking and decoding the Ford HU101 lock, using the Lishi HU101 2in1 auto pick/decoder .
The Ford HU101 lock is considered by many to be one of the hardest auto locks to defeat , but in reality they are quite a straight forward pick and decode. The 2 factors that hamper many when picking this lock are too much tension and overlifting, cure these traits and the lock is a straight forward and quick defeat.
As with any lock it is a big help to study information resources such as instacode , this will give you alot of information about a lock and plenty of crucial info , in studying this resource we can note that no adjoining wafer will be no more than 2 heights different to the one next door to it , so a No 1 height can only have a No2 or No 3 height next door to it and so on.
We can also note that the No 10 position in the older series will always be a No2 height and will only differ in the later extended series of this lock.
This lock requires the lightest of tension possible, only just a gentle tension for best results , anything more than a gentle tension will hamper picking , the stronger the tension the harder the lock will be to open. So very very very light tension , i cannot highlight the importance of this enough .
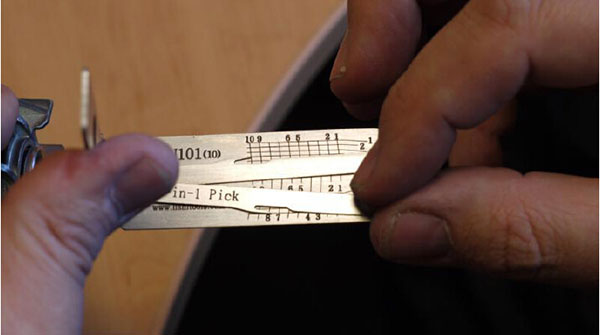
The HU101 Lock
The HU101 Lock found on Ford cmax models from 2003 and most newer models , as well as on Land Rover and Range Rover models from 2006 , and on the new Volvo models. ( though only the lishi 2in1 picks and the new lishi HU101 +10 picks will pick the landrover, range rover and the new Volvo locks , the old lishi HU101 and the copy picks will not pick these models at all ).
The lock has 10 positions and 5 wafer heights , making it a difficult lock to overlift and difficult to pick with rakes etc , it is this type of lock that the locksmith benefits greatly from the lishi range.
The differs reduce drastically once some common differ info is known on the HU101 lock . The following applies to the entire HU101 range of locks to date, with the exception of the extended series, but covers the most common series 1 to 4000.
1) The No 10 position nearest the tip will always be a No 2 Cut ( except in the extended series).
2) The No 1 position nearest the bow will never be a number 1 cut
3) There will never be more than 2 height differences between wafers next door to each other Lock sequence picking
After a year of testing and use of this tool , we have found this lock responds best if picked in a sequence , following this sequence picking greatly increases the success rate with this lock.
If picking the lock in a clockwise direction , then follow the following sequence:
Pick positions 1 , 5 , 9 , 4 and 8 first in what ever order they bind first , when these are set a slight plug movement will be felt , this movement confirms that these positions are set. Then pick positions 2 , 3 , 6 , 7 and 10 in what ever order they bind and the lock will open
If picking the lock in an anti clockwise direction then pick positions 2 , 3 , 6 , 7 and 10 first , when plug movement to confirm set then pick positions 1 , 5 , 9 , 4 and 8 until open.
The lock often picks easiest in the locking direction.
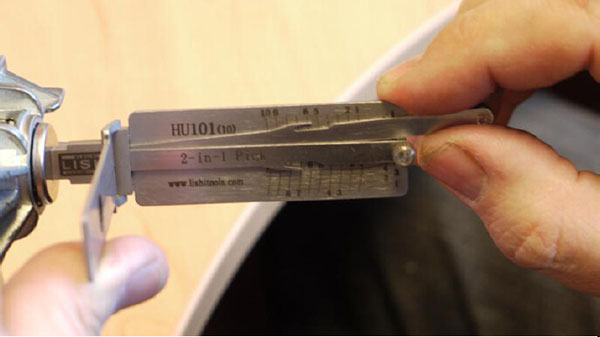
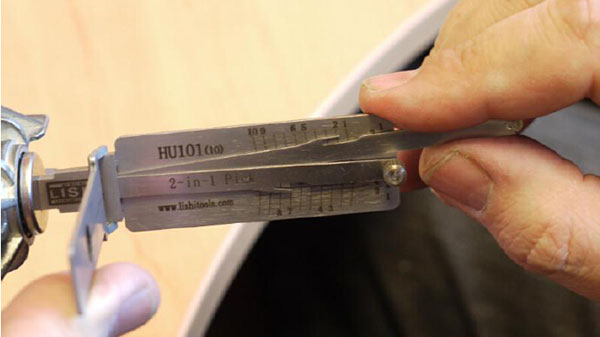
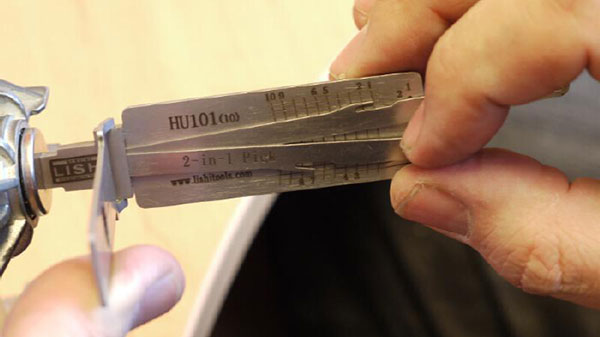
Step 1: Pick the HU101 lock
Begin by fully inserting the pick in the lock , and ensure a wafer can be felt in position 1 , once fully inserted , apply the lightest of feather tension , too much tension will make the wafers impossible to pick, will cause overlifting and will result in damage to your tool.
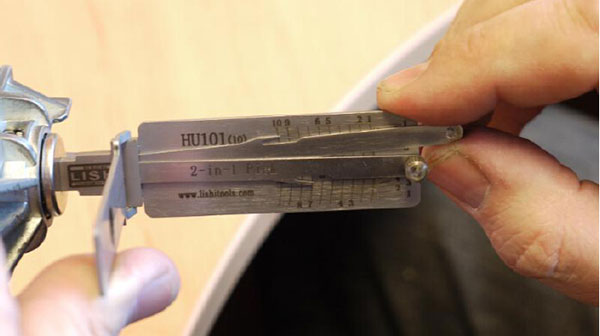
So having applied a very light tension pick positions 1 , 5 , 9 , 4 and 8 in what ever order they bind first , so tickle each wafer in turn , if it moves then try the next , pick each solid wafer in turn till it moves again, once all are set a slight plug movement will be felt , this confirms these are set. We then pick positions 2 , 3 , 6 , 7 and 10 in which ever order they bind until the lock opens.
A picture example is below ;
Position 1 is the first to bind and pick

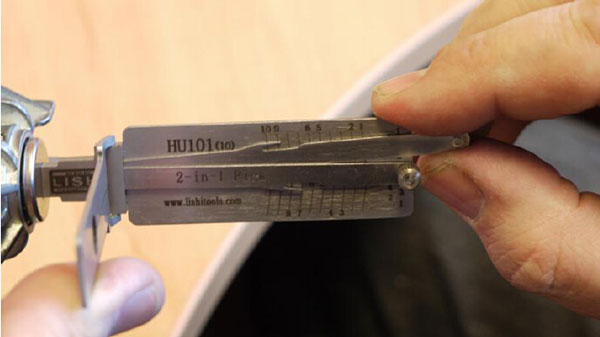
Position 5 is the next to bind and pick
Position 9 is the next to bind and pick
Position 4 is the next to bind and pick
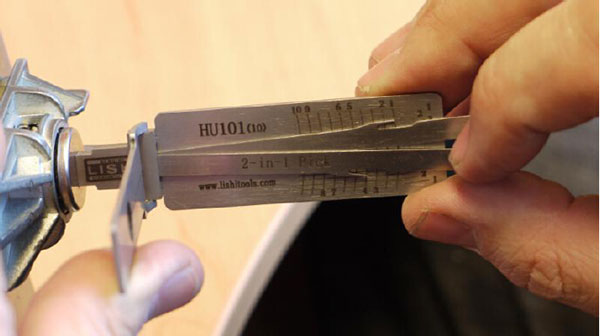
Position 8 is the next to pick, at which point a slight movement of the plug is felt, confirming this first sequence is picked and set
So we now move to the 2nd sequence.
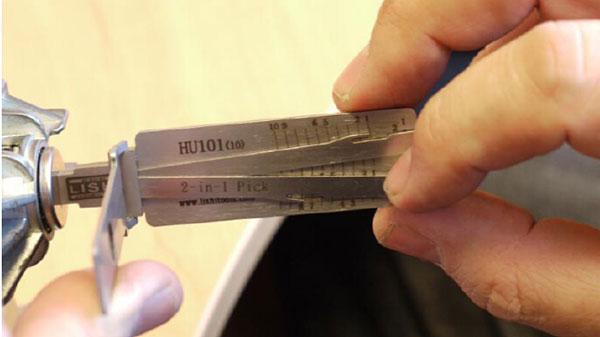
Position 2 is the next to pick
Position 10 is the next to bind and pick
Position 6 is next to bind and pick
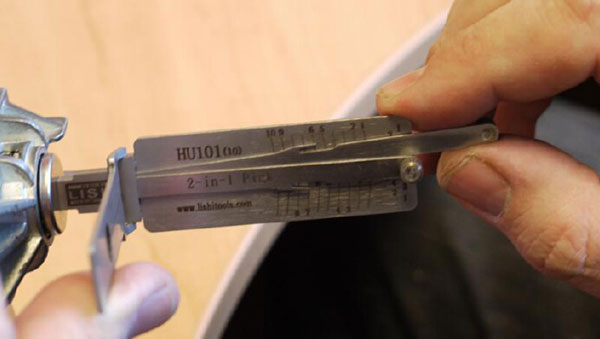
Position 3 is next to bind and pick
Position 7 is the last to bind and pick
The lock is open.
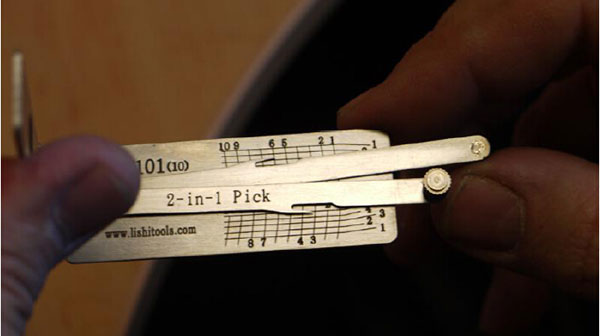
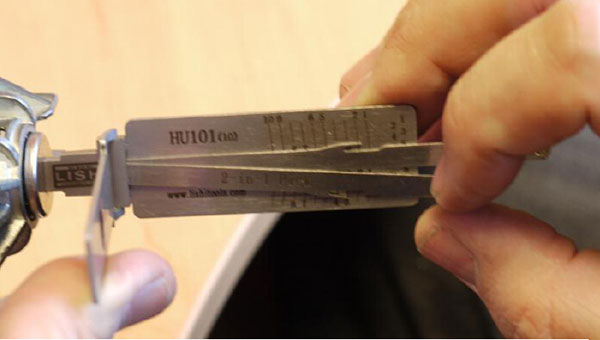
Following the sequence picking greatly simplifies the picking process and if followed with very light tension and a little practice, picking this lock becomes a simple process. Once picked we hold the lock in the open position to decode it.
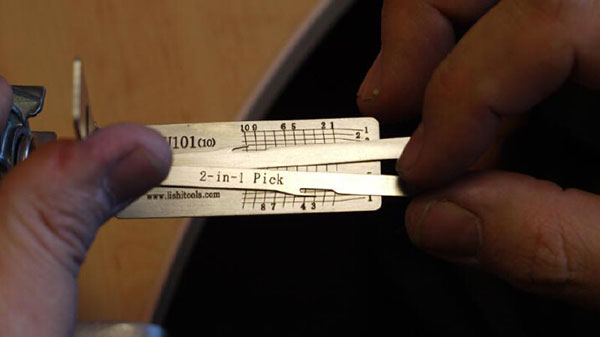
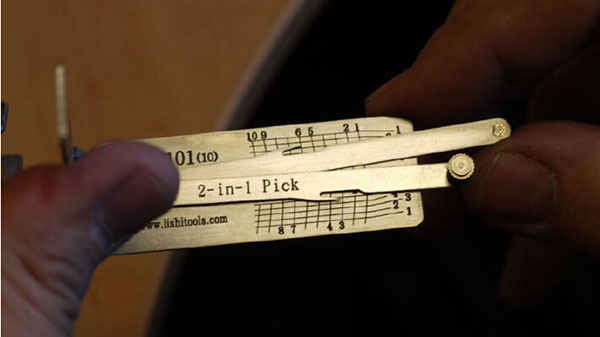
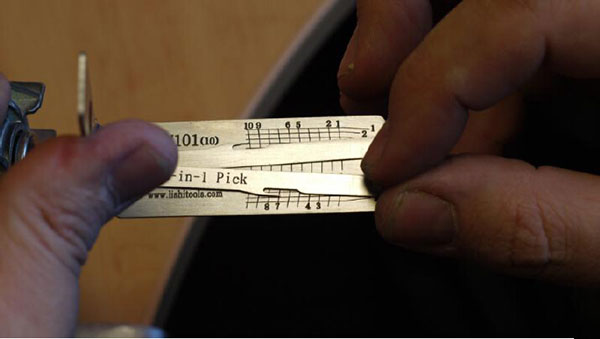
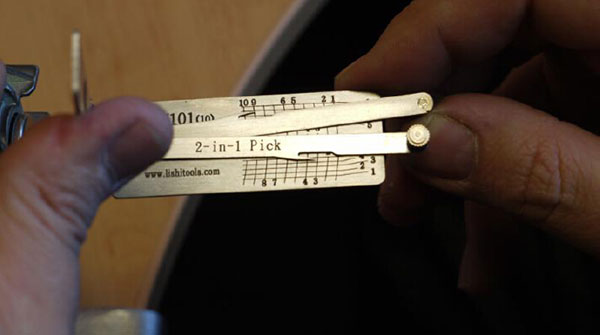
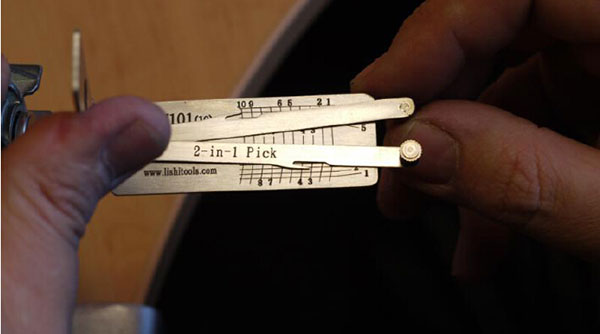
Step 2: Decode the Lock using the Lishi HU101 decoder
As The HU101 is a 2 lifter tool , we decode in the same direction as we picked and with the same lifting arm, this lock can only be decoded whilst held in the picked position.
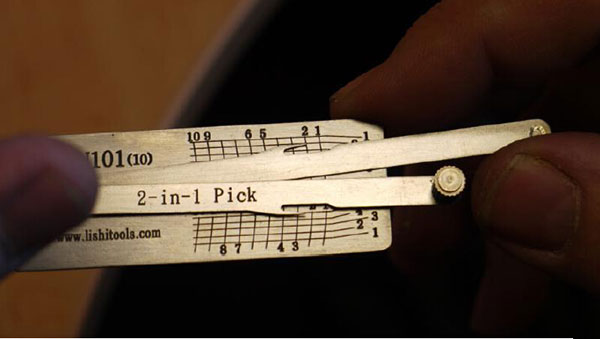
When lifting the arm along the line a spring is felt , push past the spring until the stop position , the full stop position is where you take the reading and not at the beginning of the springy feeling. So decoding in the same direction as we picked, this lock decoded as ;
Position 1 decodes as a No2 cut
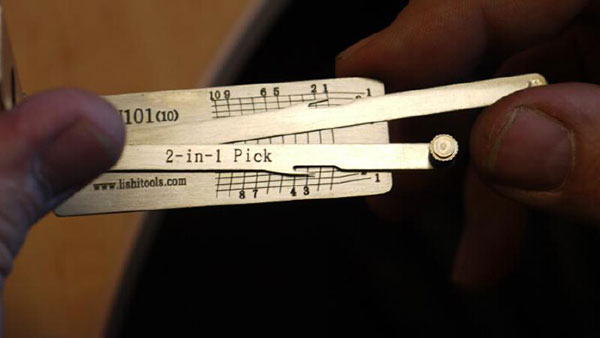
Position No2 decodes as a number 2 cut
Position No3 decodes as a No2 cut
Position No 4 decodes as a No 3 cut

Position 5 decodes as a No 4 cut
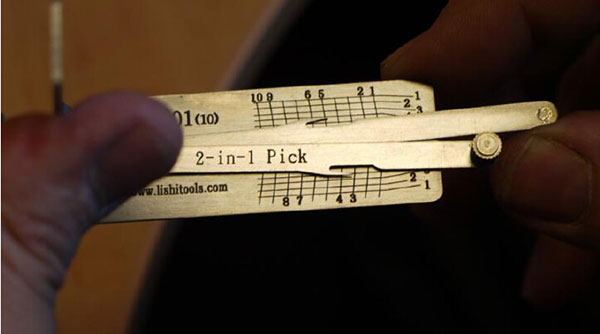
Position No 6 decodes as a No 3 cut
Position 7 decodes as a No 2 cut
Position 8 decodes as a No 1 cut
Position 9 decodes as a No 2 cut
Position 10 decodes as a No 2 cut
So the lock here decodes from bow to tip as a 2223432122 .